
When you’re about to buy a used car, you need a clear process—not a gut feeling. A pre-purchase inspection helps you spot safety issues, upcoming repairs, and signs of poor maintenance before money changes hands.
Use this checklist to inspect the car yourself first, then use it to guide a professional inspection when you search for “pre-purchase inspection near me.”
Why Pre-Purchase Inspections Matter
A pre-purchase inspection tells you what you’re really buying. It helps you:
- avoid unsafe vehicles (brakes, tires, suspension, airbags)
- estimate near-term costs (tires, brakes, battery, leaks)
- decide if the price is fair—or if you should walk away
The 12 Non-Negotiable Inspection Points
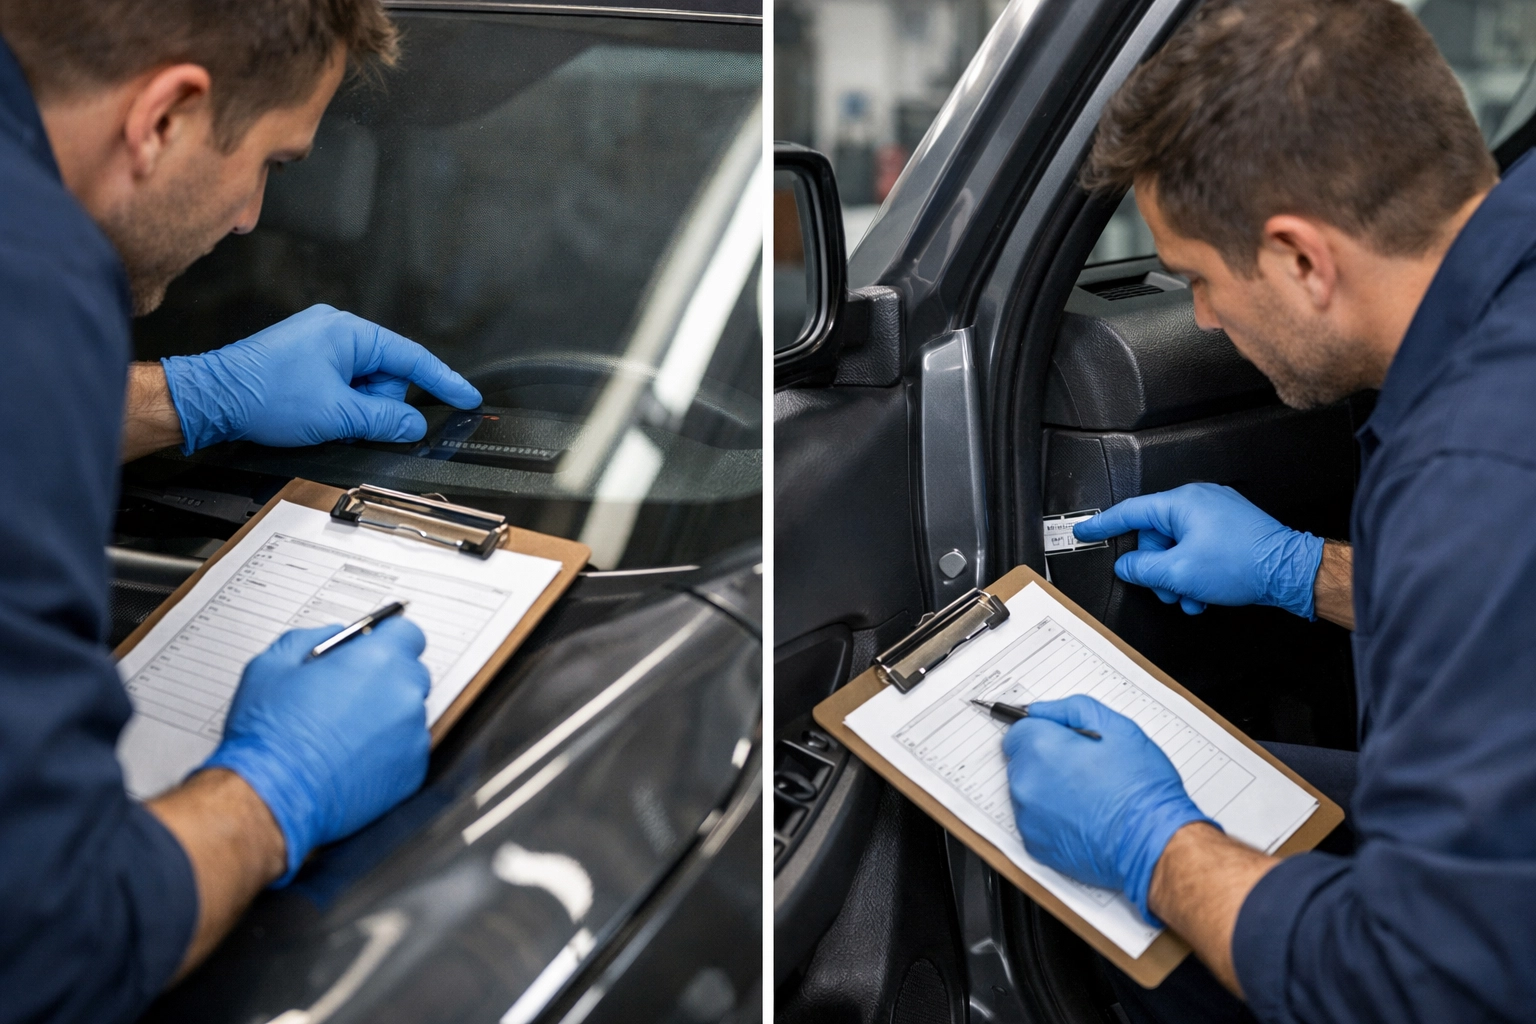
1. Vehicle History Report & Title Status
Do this before you meet the seller.
- Pull a history report (Carfax/AutoCheck). Look for: salvage/rebuilt title, flood damage, odometer issues, repeated short-term ownership, and major accidents.
- Check open recalls on the NHTSA site.
- Confirm the VIN matches in all locations (dash, driver door jamb, and under-hood labels). A mismatch is a stop-and-walk-away issue.
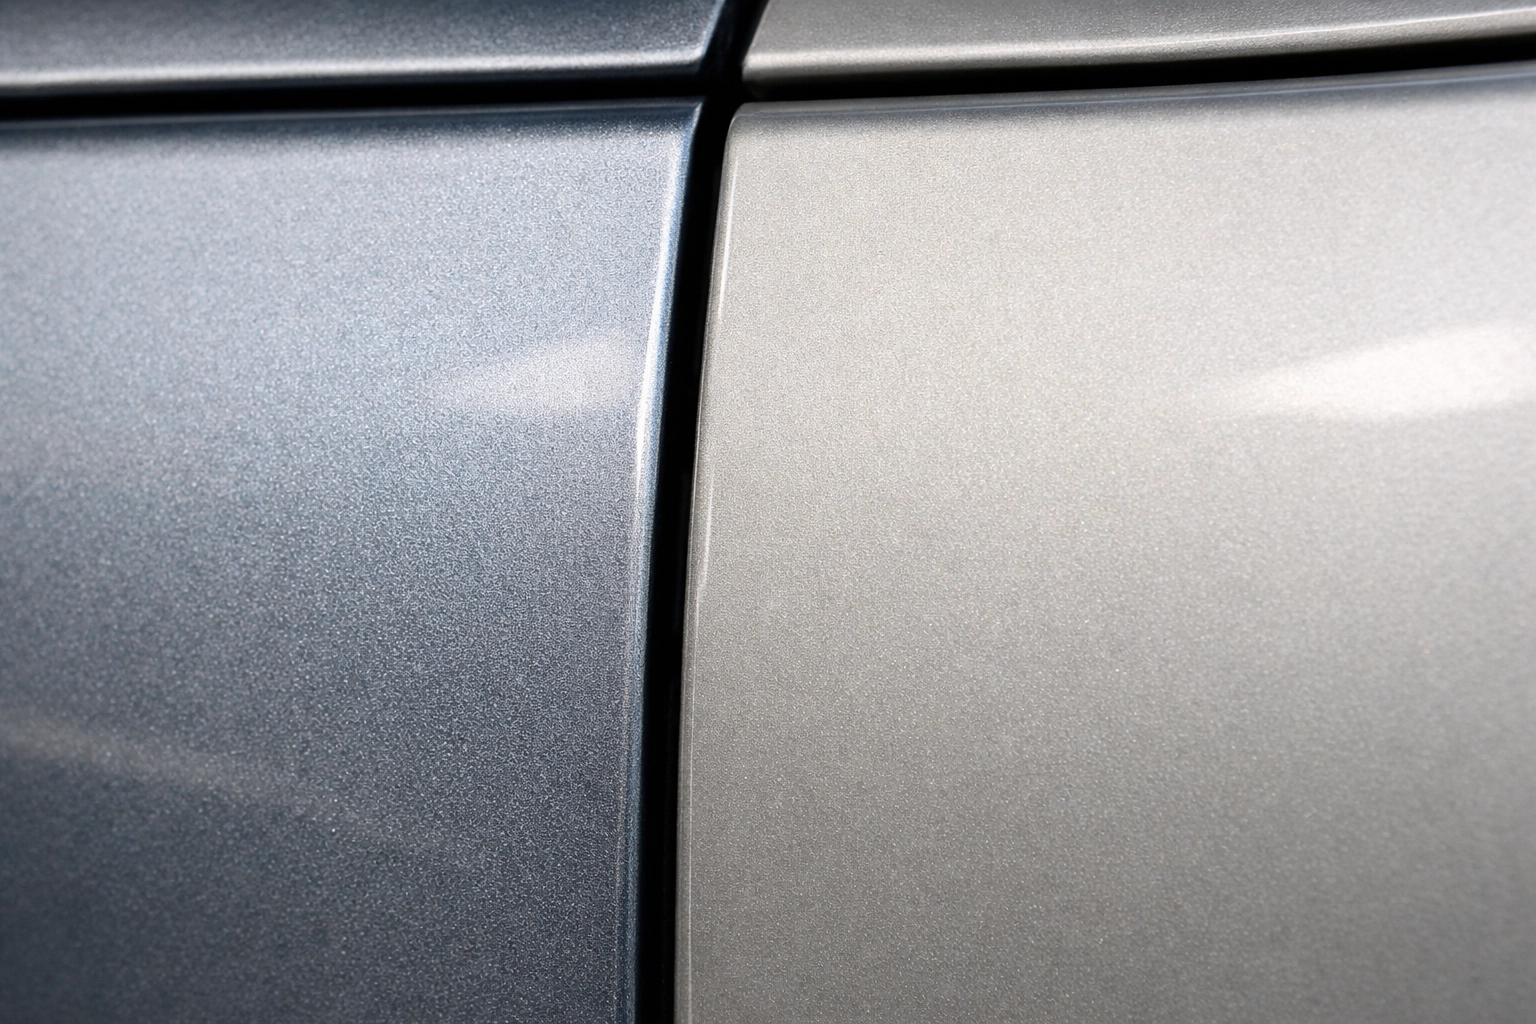
2. Exterior Condition & Paint Quality
Walk around the car in daylight.
- Look for mismatched paint, overspray on trim, or rough texture—common signs of body repairs.
- Check panel gaps (hood, doors, fenders). Uneven gaps can mean past collision repair.
- Inspect for rust around wheel wells, rocker panels, and lower door edges.
- Confirm all exterior lights work (headlights, brake lights, turn signals, reverse lights).
- Check the windshield for cracks and heavy chips (replacement can be expensive).
3. Engine Oil & Coolant Analysis
Pop the hood and check the oil dipstick. The oil should be amber to dark brown: not black or gritty: and at the proper level. If you see milky, frothy oil, walk away immediately; this indicates coolant mixing with oil due to a blown head gasket or cracked engine block.
Coolant should be bright green, orange, or pink depending on the type, and filled to the proper level in the reservoir. Rusty, muddy, or contaminated coolant suggests neglected maintenance and potential internal engine corrosion.
4. Belts, Hoses & Battery Condition
Quick under-hood checks.
- Hoses: should feel firm and not cracked, swollen, or brittle.
- Belts (if visible): look for cracking, fraying, or shiny/glazed spots.
- Battery: check for corrosion on terminals and look for the battery date. If it’s around 4+ years old, budget for replacement.
5. Fluid Leaks Underneath
Check the ground and the underside.
- Look for fresh drips or wet, shiny areas around the engine, transmission, and differential.
- Note the fluid type if you can:
- oil: brown/black, slick
- coolant: usually green/orange/pink
- transmission fluid: often red/pink (varies by model)
- Active leaks are a negotiation point at best; large leaks are often a walk-away.
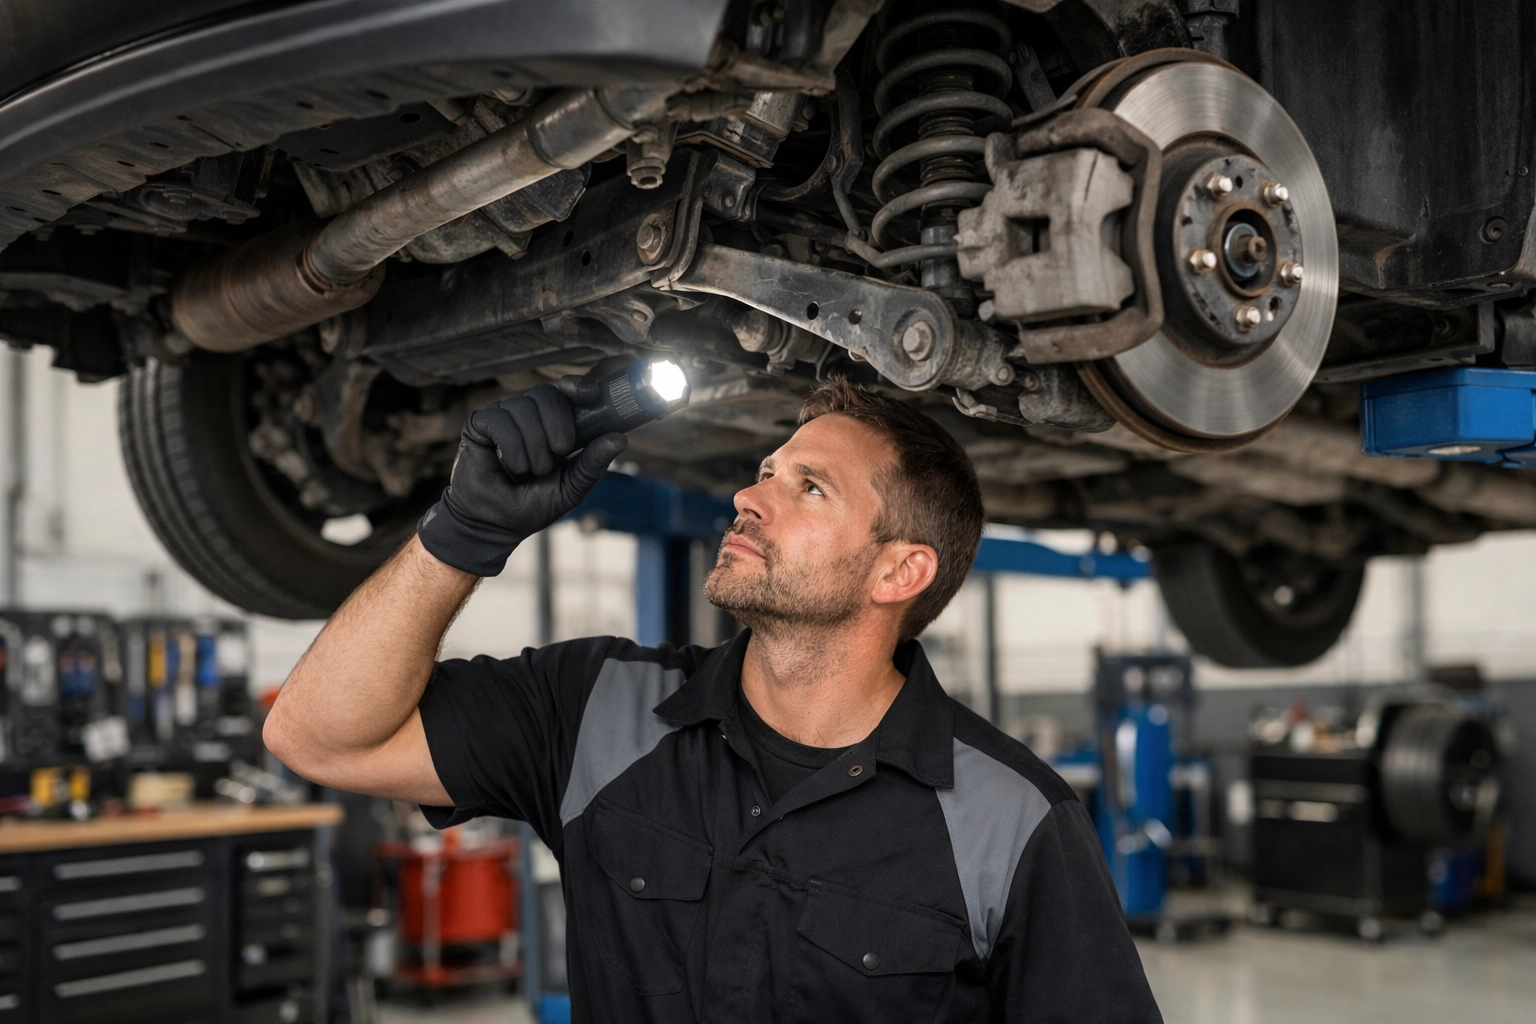
6. Undercarriage & Suspension Systems
Look for damage and rust, then do a simple ride check.
- Underbody/frame: avoid heavy flaking rust, holes, or obvious impact damage.
- Suspension: look for bent components and torn rubber bushings/boots.
- Bounce test: push down on each corner; it should rebound and settle quickly. Multiple bounces usually means worn shocks/struts.
- On the drive, listen for clunks over bumps and note if it wanders or feels loose.
7. Brake System Performance
Test brakes safely on the drive.
- Braking should be straight and smooth—no pulling, grinding, or squealing.
- Pedal should feel firm (not spongy) and shouldn’t sink while you’re holding it.
- Vibration/pulsing during braking often means warped rotors.
- If you get a professional inspection, ask for pad thickness and rotor condition measurements.
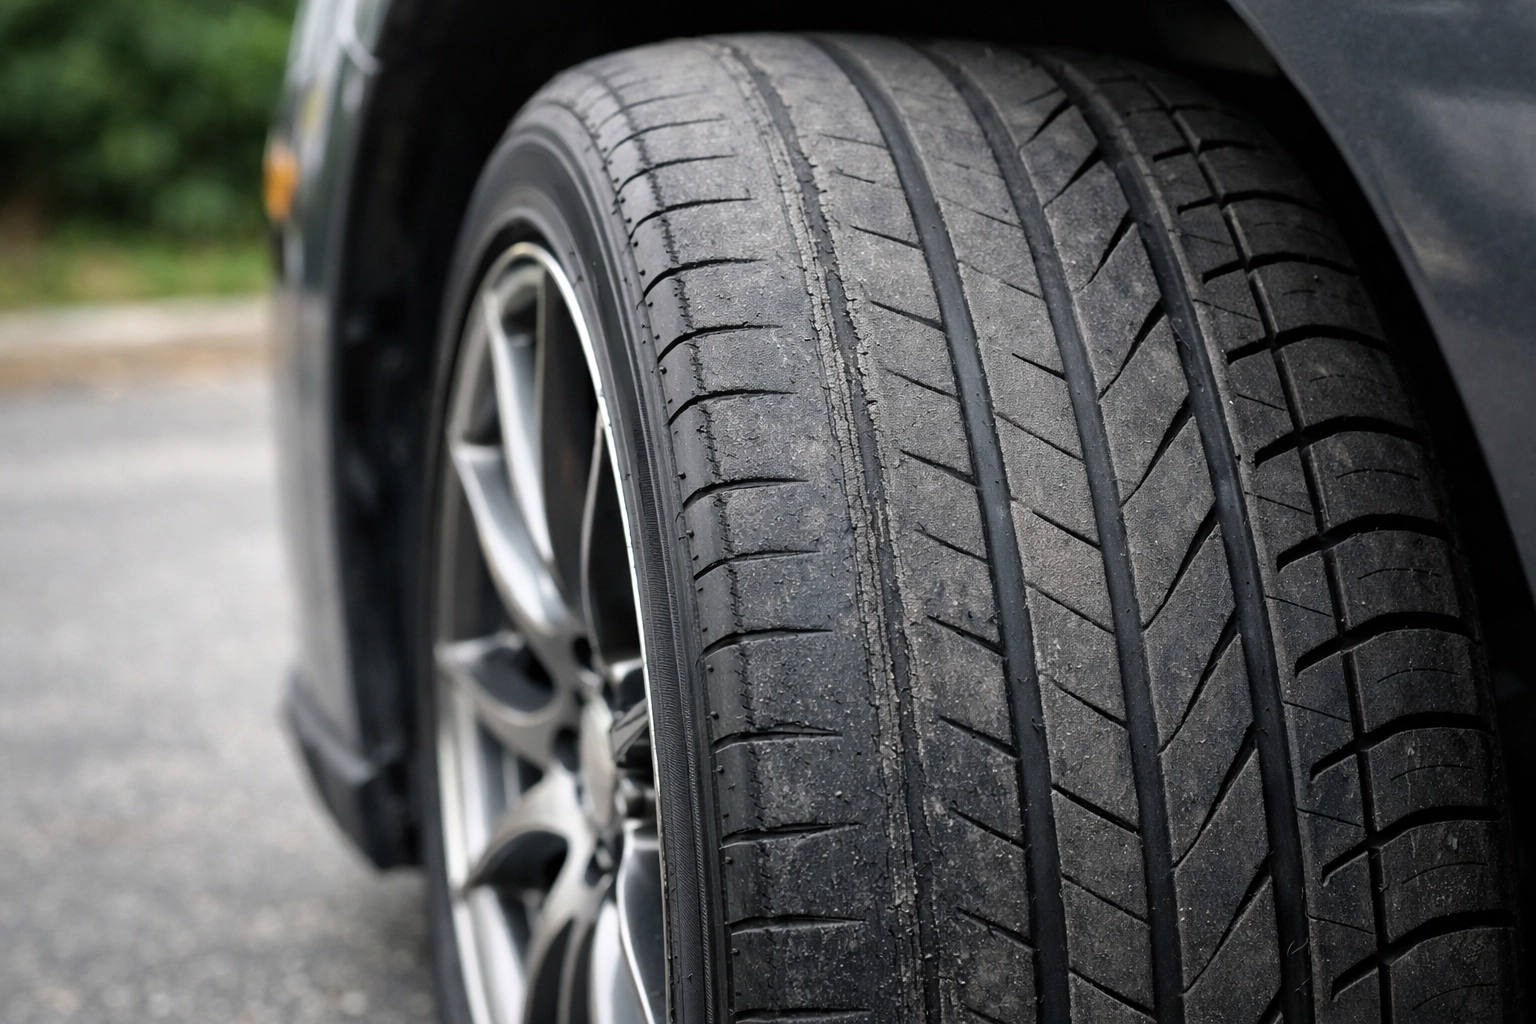
8. Tires & Wheels
Tires can reveal alignment, suspension, and safety issues.
- Check all four tires match in size and have similar tread depth.
- Look for uneven wear (inside edge wear, bald spots, cupping).
- Quick tread check: if tread is low enough to trigger the wear bars, budget for tires.
- Check the DOT date code; tires around 6+ years old should be replaced even if tread looks OK.
- Reject any tire with sidewall bubbles or major cracking.
9. Interior Condition & Controls
Test everything you’ll use.
- Seats: look for excessive wear, tears, water staining, or mold smells.
- Controls: windows, locks, mirrors, seat adjustments, wipers, stereo, backup camera (if equipped).
- Warning lights: at key-on, the dash lights should come on briefly, then turn off after starting. If a light stays on—or never lights up at all—investigate.
- Seatbelts: confirm they retract smoothly and latch securely.
- HVAC: verify heat and A/C both work and the fan speeds change normally.
10. Transmission & Drivetrain Function
Look for smooth engagement and predictable shifting.
- Automatic: shifts should be smooth—no slipping, banging into gear, or delayed engagement.
- Manual: clutch should engage smoothly; gears shouldn’t grind (especially 1st–2nd and reverse).
- Pay attention at steady speeds: shuddering, vibration, or RPM flares can signal drivetrain problems.
- If you get a shop inspection, ask for a scan and a check for leaks at transmission/axles.
11. Engine Performance & Emissions
Start it cold if you can.
- Cold start should be clean and steady—no loud knocking, harsh rattles, or extended cranking.
- Idle should be stable once it settles.
- Watch the exhaust: visible blue/white smoke that continues after warm-up is a red flag.
- Scan for trouble codes with an OBD-II scanner (a shop can do this quickly). Hidden or pending codes matter.
- If emissions testing applies to your area, ask for recent results.
12. Comprehensive Test Drive
Use a simple route and take notes.
- Drive city streets and highway speeds; include bumps and a few turns.
- Verify it tracks straight and the steering doesn’t shake at speed.
- Listen for clunks over bumps, humming that rises with speed (wheel bearing/tire noise), or grinding.
- Do a few moderate accelerations; the engine should pull smoothly and shifts should be consistent.
- Re-check for leaks after the drive—fresh drips can show up once the car is warm.
Why Professional Inspections Are Worth It
A quick walk-around is helpful—but it won’t catch everything. A professional pre-purchase inspection can confirm what you can’t easily verify at the curb, including:
- a full underbody check on a lift
- brake measurement (pads/rotors) and tire condition
- fluid leaks you can’t see without access and lighting
- computer scan for current and pending trouble codes
- a road test by someone who knows what “not normal” feels like
At Wrench & Ratchet Auto Care, our pre-purchase inspections typically take 60–90 minutes and end with a clear summary of what needs attention now, soon, and later.
Making Your Decision
Use what you found to make a simple call:
- Minor wear (tires, brakes, battery): price negotiation items.
- Safety issues, major leaks, drivetrain problems, or VIN/title concerns: usually a walk-away.
If a seller won’t allow an inspection, move on. If you want a professional set of eyes before you buy, contact us at Wrench & Ratchet Auto Care—we’ll help you verify the vehicle’s condition before you commit.